Continuing alo- Wait. Is that really how "continuing" is spelled? Man, that's weird.
Continuing along in the process, this is what I've been up to:
Continuing along in the process, this is what I've been up to:
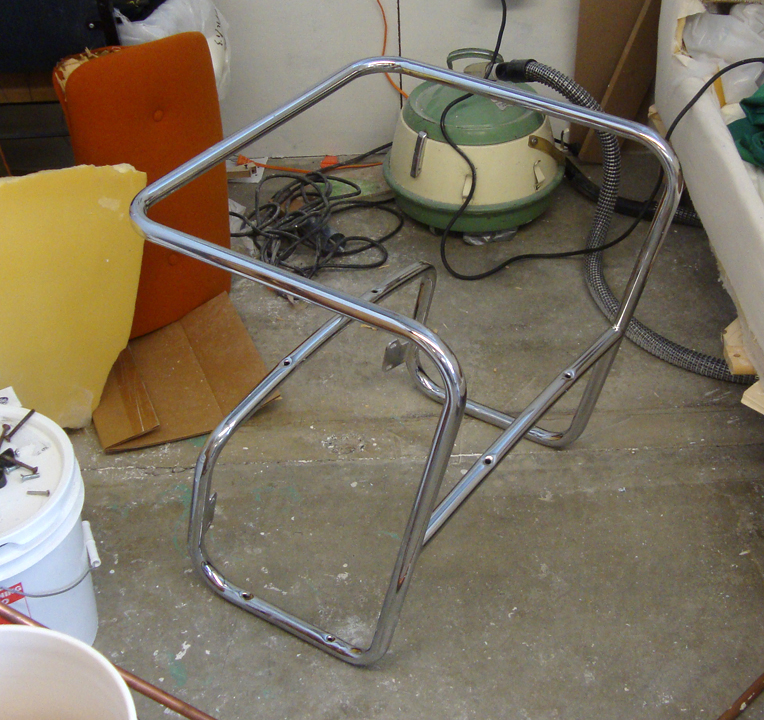
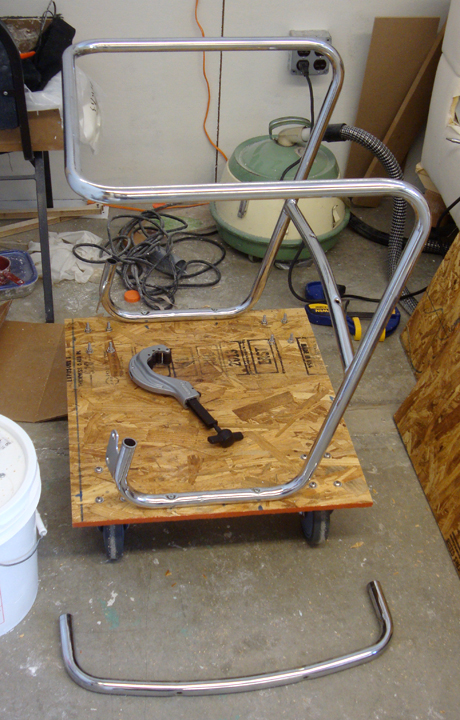
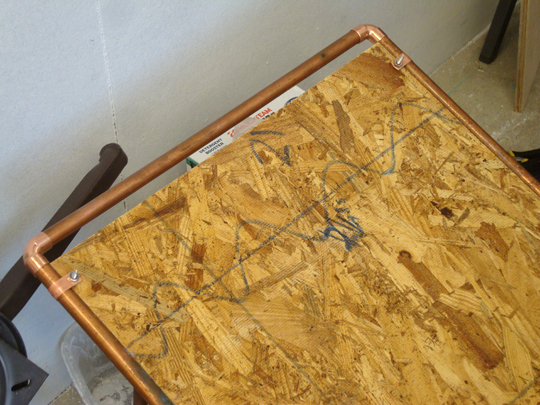 I attached the 1/2 size copper pipe to the plywood with copper brackets that I bent straight. An issue with this is that the brackets don't reach far enough for substantial bite, that and I wanted space between the pipe and the plywood. Whelp, that's something I know now. And yes, I'm well aware of what "whelp" means--I just happen to accent "well" that way when I'm being blunt. | 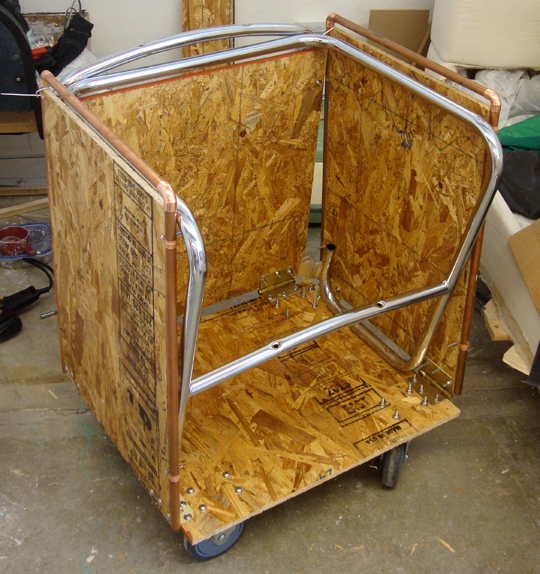 Here's the frame with all of its pipe siding. I do not like that the interior frame sticks out in front of the other frame, but again, that's something to take into account later. |
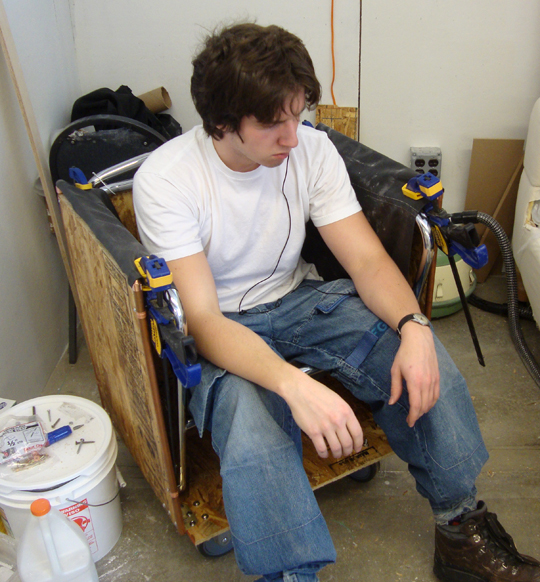
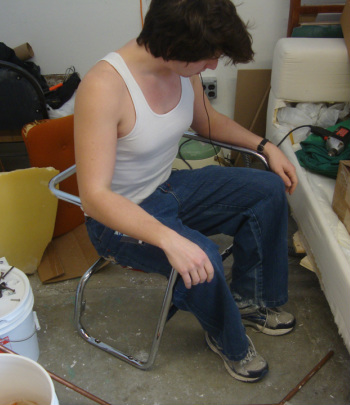
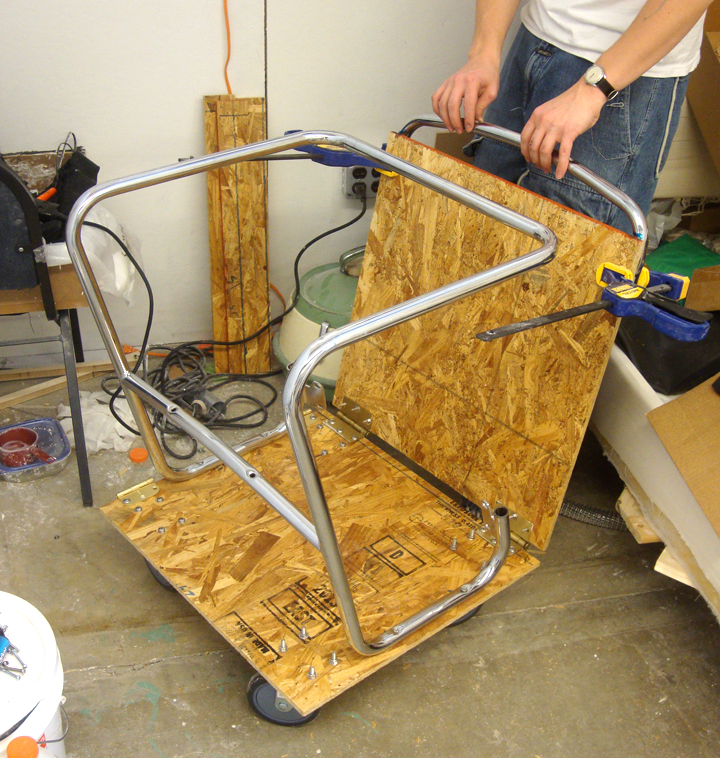
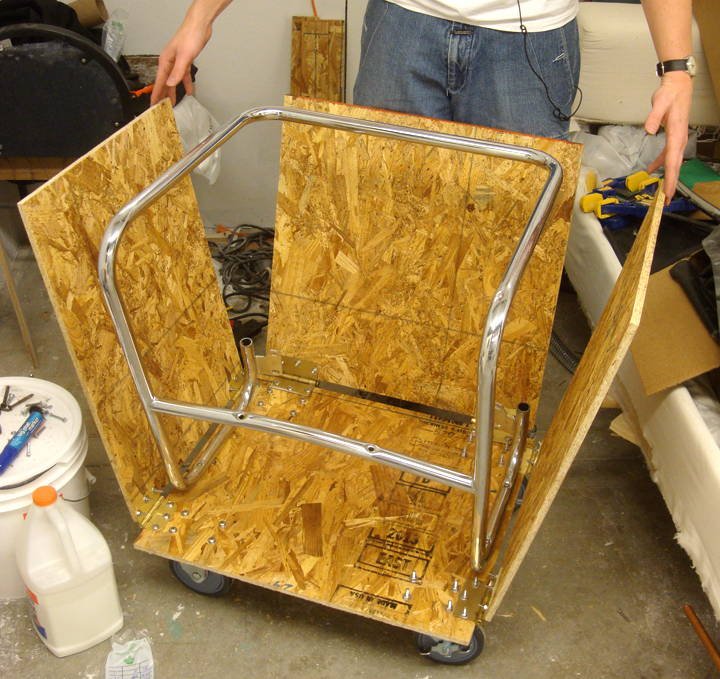
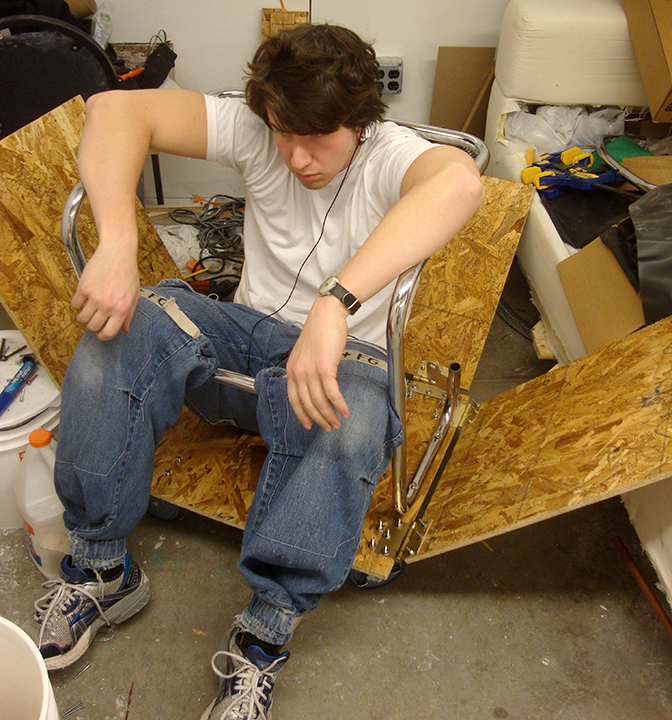
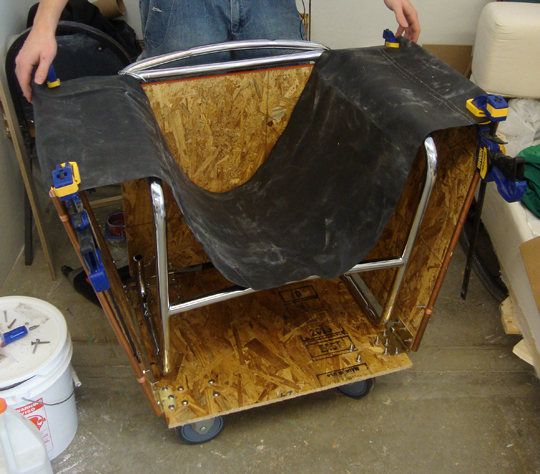 This is about the angle on the wings that I want... | 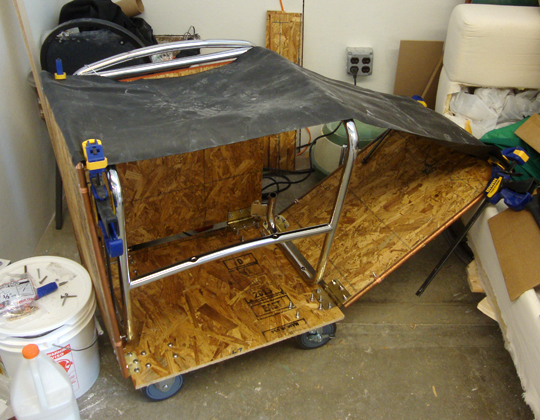 ... But I need to develop a way to keep the wings from just flopping open. Shouldn't be hard. |
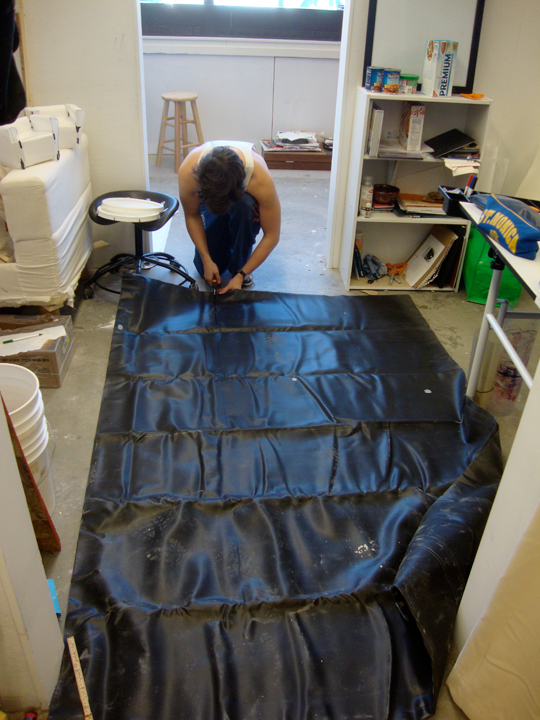
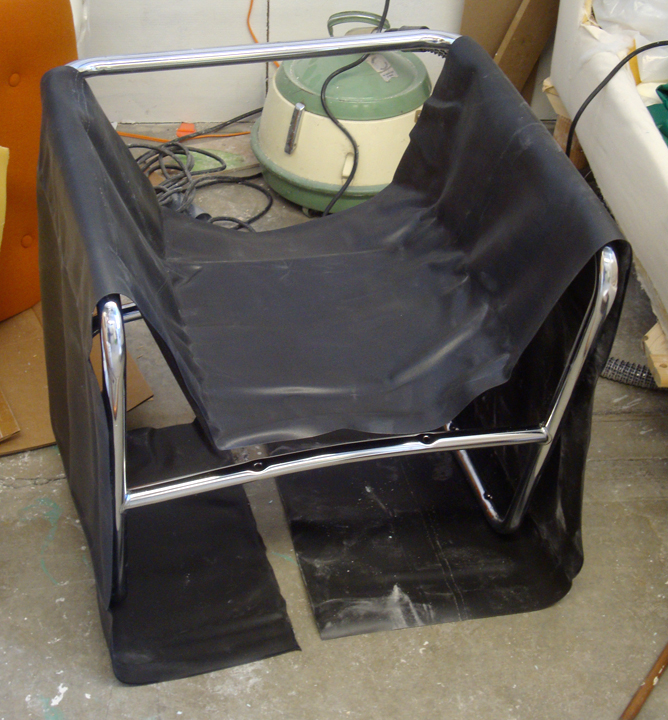
 Again, this material is great for slow stretching and sinking. Attaching it to itself is proving difficult, however. | 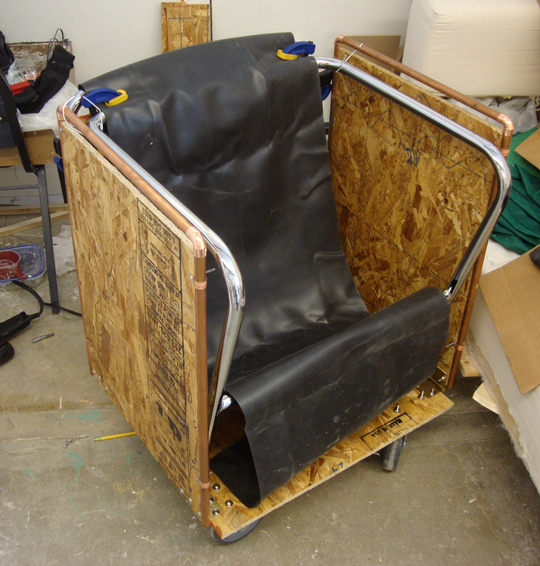 The material will also go over the back wing and down under the frame. |
The rubber cement I bought to try and attach the pond liner to itself is not working. However, one of the cements is used for waterproofing and repairing shoes. Perhaps if I sew the pond liner together and then use the cement to seal the holes made by the needle....
I tried using the Weldwood contact cement as its instructions describe, which did not work at all. The rubber didn't want to stick to itself in the least. I then tried it by just applying it to both sides and clamping it together for 15 minutes. That worked relatively well, but when I added my body weight to the bond to stretch it, the bond broke almost immediately. I mean, the instructions to say that it is not to be used for high-stress bonds...
I tried using the Weldwood contact cement as its instructions describe, which did not work at all. The rubber didn't want to stick to itself in the least. I then tried it by just applying it to both sides and clamping it together for 15 minutes. That worked relatively well, but when I added my body weight to the bond to stretch it, the bond broke almost immediately. I mean, the instructions to say that it is not to be used for high-stress bonds...
I then tried Shoe Goo, which worked even less. However, don't despair. I filched a needle and some incredibly strong thread from the sewing studio (don't worry I'll return it when I'm done). Thread seems to work rather well, as long as there are multiple rows of stitches. Three rows of stitches, and even pulling it apart with full strength doesn't work. I then stitched in a way more fitting of furniture, creating a seam (to stick inside), and that also worked. Next I applied Shoe Goo to the outside of the seam (as one of its applications is to water proof seams).
 I prefer to call this "Gooey Shoey". | 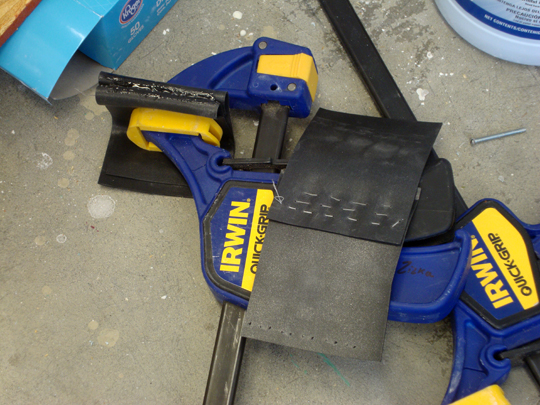 The seam on the right is inside out with shoe goo spread across it to attempt a seal. |
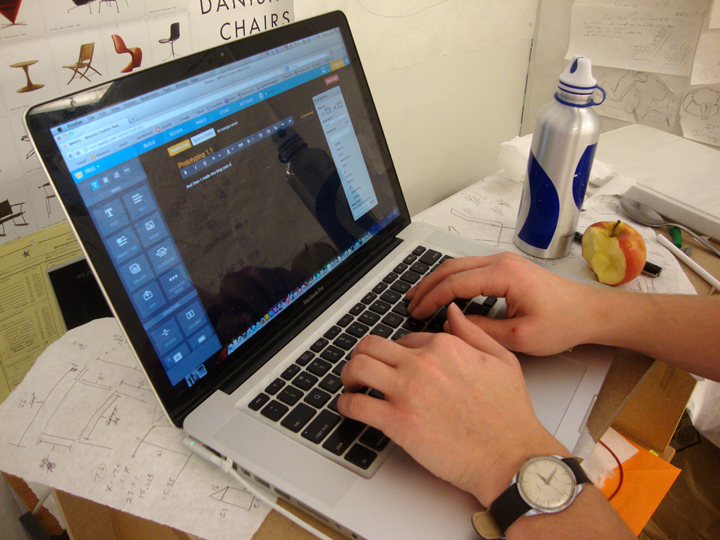
Unfortunately, because the rubber stretches so much, when I pulled on the seam, the shoe goo ripped open (but the seam held fine). Perhaps the better way to do it is to goo up all the holes and the other side of the seam. After all of this, I wrote a blog post about this process.
Checklist
Accomplished:
Frame completed
Informative seam tests
Working on:
Making the rubber sack for the interior of the chair via sewing and gooing
Making sure the sack is water-tight
Finding a way to cover the pointy bits inside the chair to prevent ripping
To do:
Postcard image
Decide on how the piece should be exhibited
 RSS Feed